Installing GRIT
To install GRIT, you first need to download the source code. We use CMake to generate project files, so if you do not have CMake installed already, you need to do so before continuing.
GRIT has a number of dependencies, which we divide in two categories: external and bundled. External dependencies need to be installed on your system before you can generate your project files. Bundled dependencies are included with the source code in the folder 3RDPARTY, and work "out of the box".
External dependencies
-
Boost: Unit-tests in GRIT are written using the Boost unit test framework. This means you need to make sure your boost installation will install the binaries from Boost that supports this framework
-
NVIDIA CUDA Toolkit: Some simulators (not all) use CUSP to solve linear systems. CUSP requires NVIDIA CUDA Toolkit. The CUSP version used by GRIT is bundled with 3RDPARTY. If you do not install CUDA, make sure that the ENABLE_CUDA parameter in CMake is set to 0 (this should be the default value).
Bundled dependencies
-
OpenTissue: used for the underlying mesh structure
-
CUSP: a template library for sparse matrix computations, used in a subset of the simulators in GRIT
CMake
The following walkthrough assumes the use of cmake-gui, the grafical interface to CMake.
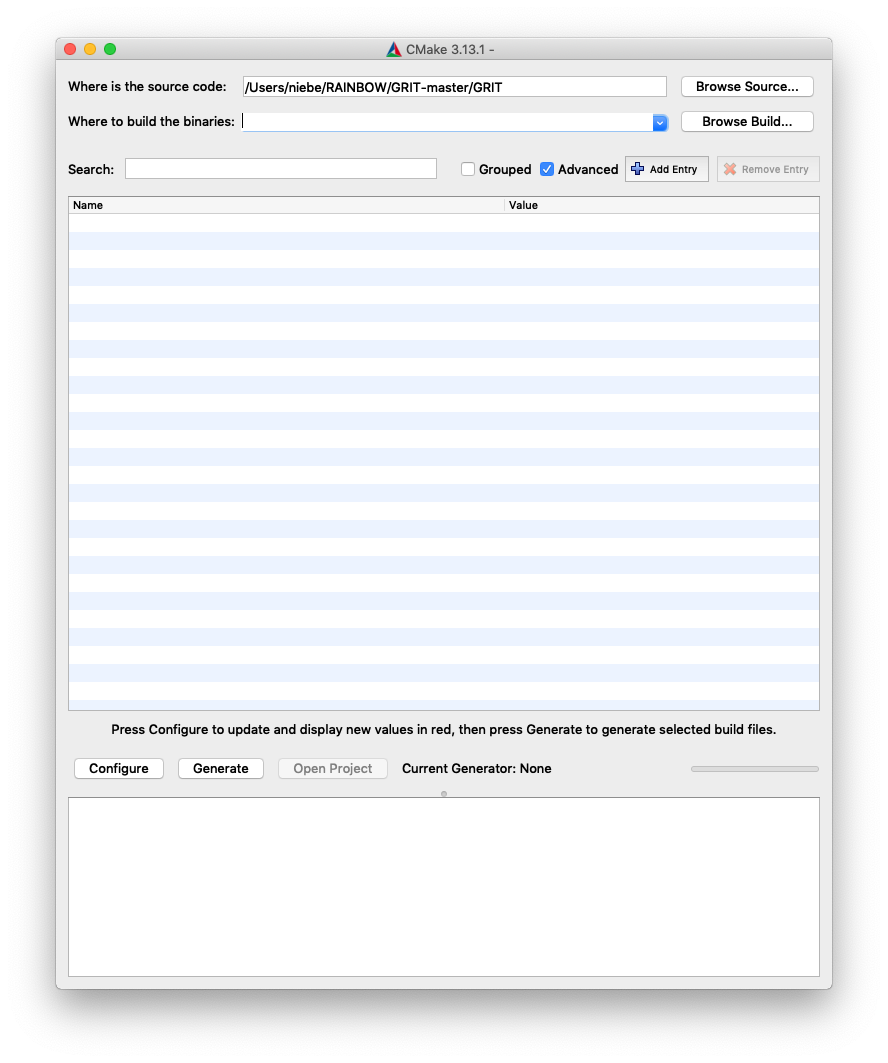
step 1
Point CMake to the folder where the source is located. In this example, GRIT-master is the folder the source code has been cloned to. This folder contains three folders: 3RDPARTY, GRIT, and UTILITIES, and a handful of information files of various formats. The folder we need to point CMake to, is the GRIT folder.
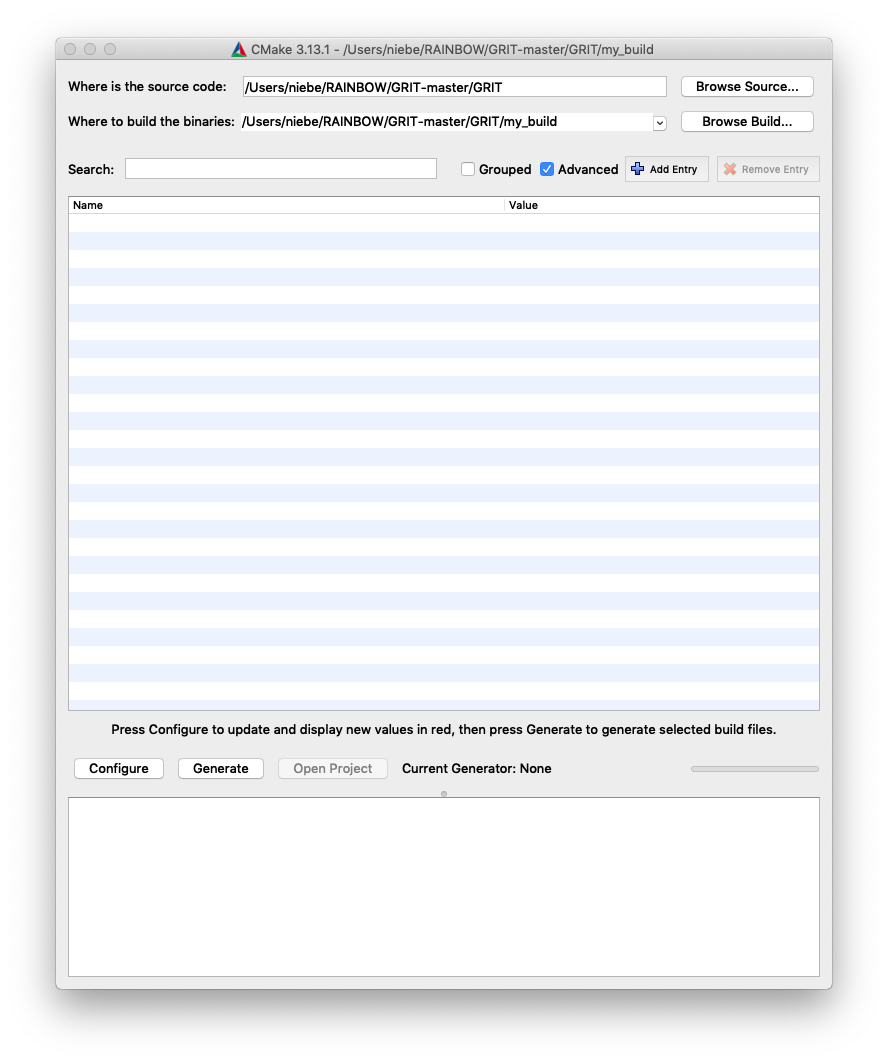
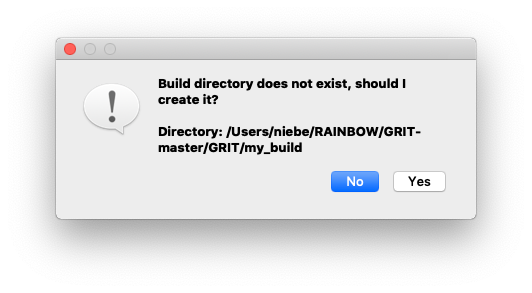
step 2
Let CMake know where to build the project binaries. CMake needs to know where to place all the files it generates for the project, in this example we tell CMake to create a folder called 'build' in the GRIT folder. If the specified folder does not already exist, CMake asks if you want to create it, click 'Yes'.
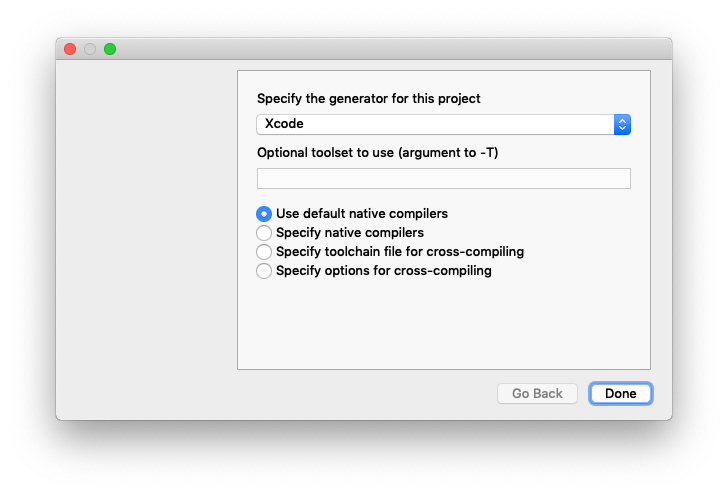
step 3
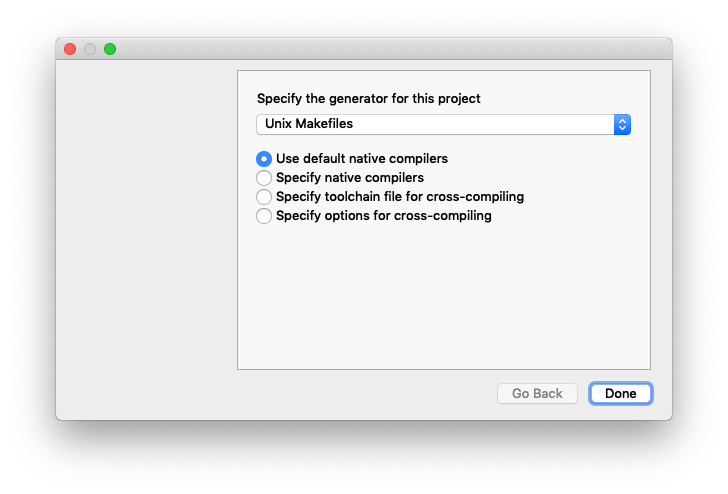
CMake can create project files for a number of IDEs, choose the one that you prefer to work with. In this example, Xcode is chosen.
step 4
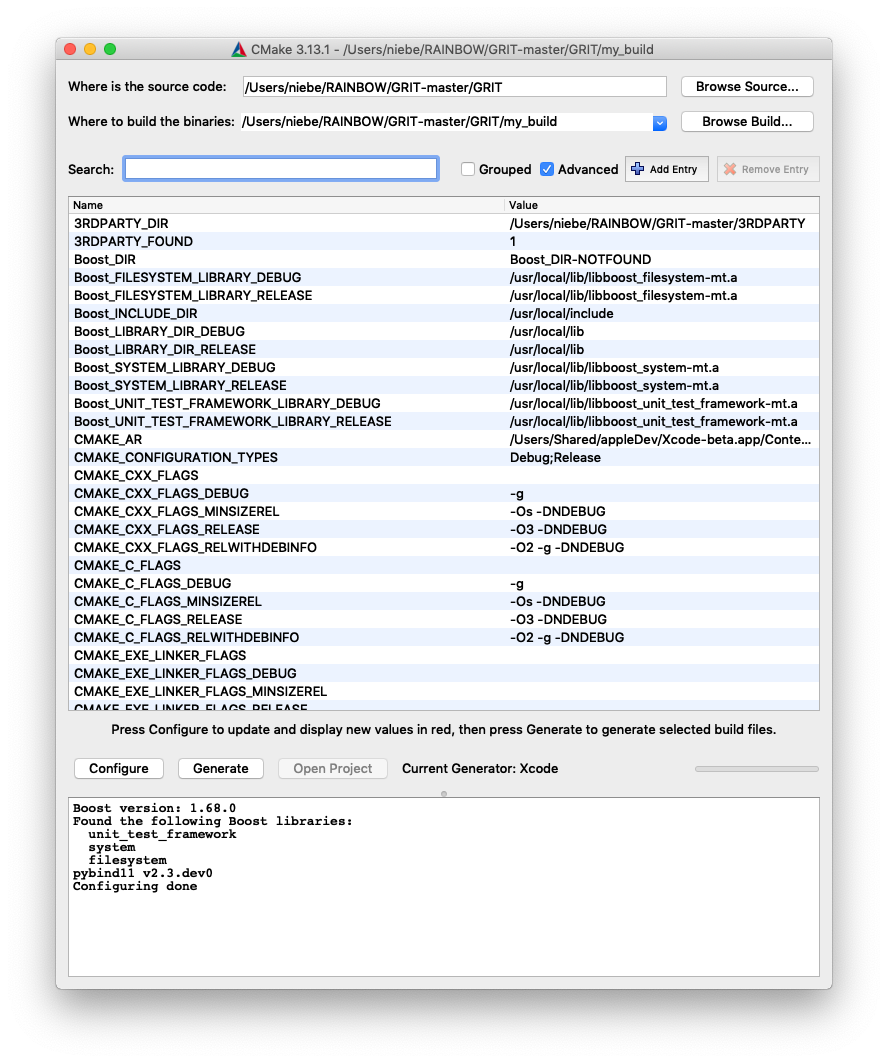
To configure your project, you hit the 'Configure' button. This makes CMake go through all your CMake scripts (called CMakeLists.txt) and generates a platform specific build script. A list is generated where you can see all the variables CMake has created, and their current values.

step 5
Inspect the output window (bottom window) for any issues, this is where you will see whether CMake was able to find all the dependencies. You can change the values of the CMake variables, for instance you can help by adding any paths that CMake was not able to resolve. You can also enable/disable project settings, such as the 'ENABLE_CUDA' variable. When all issues are resolved and you are happy with the settings, hit 'Configure' again.
step 6
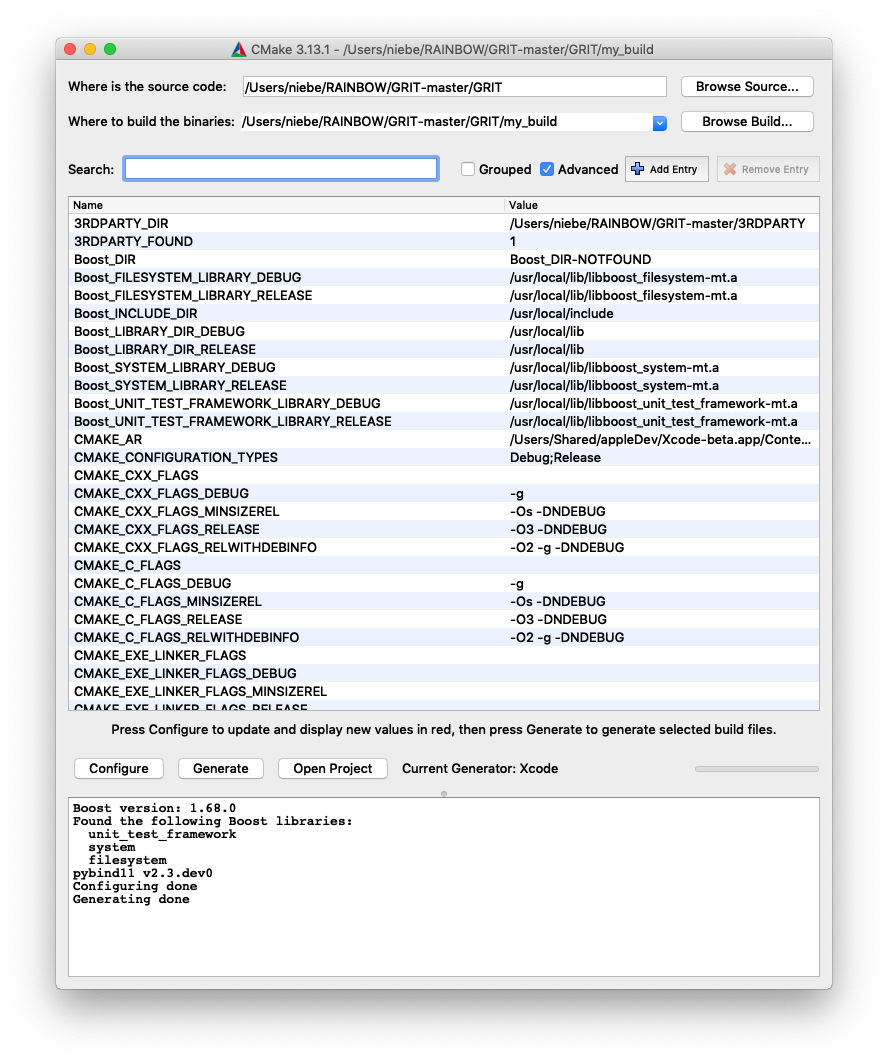
The last CMake step is to generate the project file, hit 'Generate'.
Building and running demo code
XCode
Unix Makefiles
To run the code without using an IDE, you can have CMake generate Unix Makefiles instead.
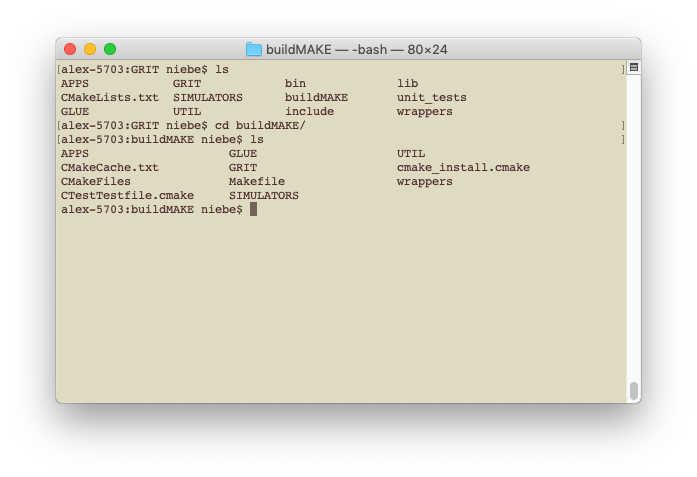
Go to the build folder you specified in the CMake configuration step, in this example it is the folder 'GRIT/buildMAKE'
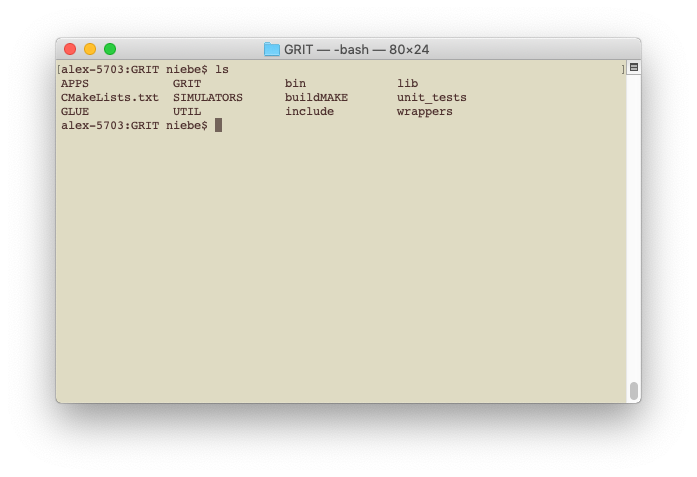
CMake has generated a lot of files in this folder, the one we are interested in is the 'Makefile'
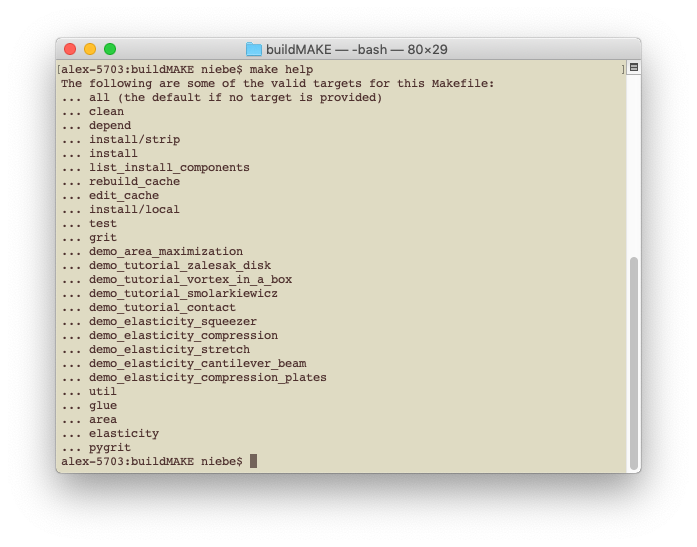
To see which targets can be build using the generated Makefile, use the command 'make help'.
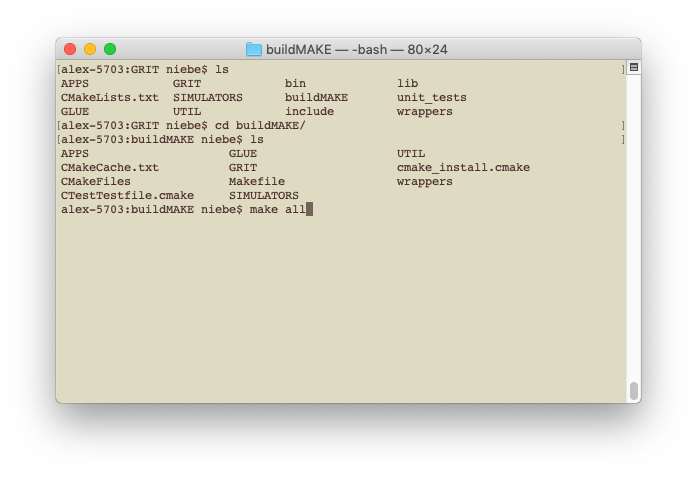
To build all targets, use the command 'make all'.
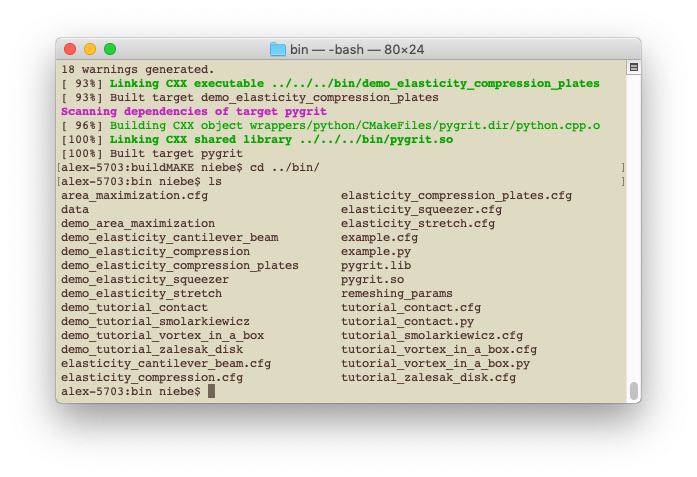
Now all targets have been built, and all the binaries can be found in the 'GRIT/bin' folder.
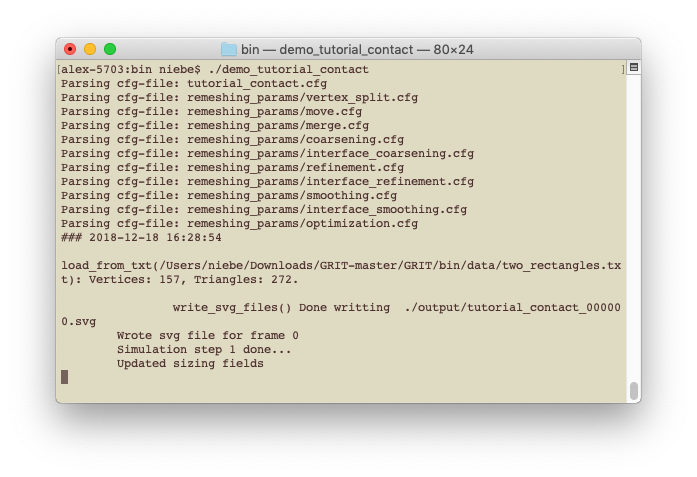
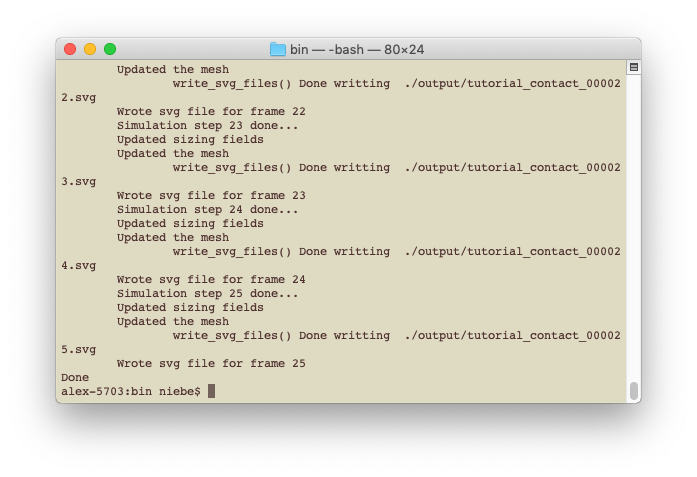
To run the demo_tutorial_contacts binary, navigate to the 'bin' folder and use the command './demo_tutorial_contact'. Note that there is no other output than the text to the terminal, and the images being written to file in the 'bin/output' folder.
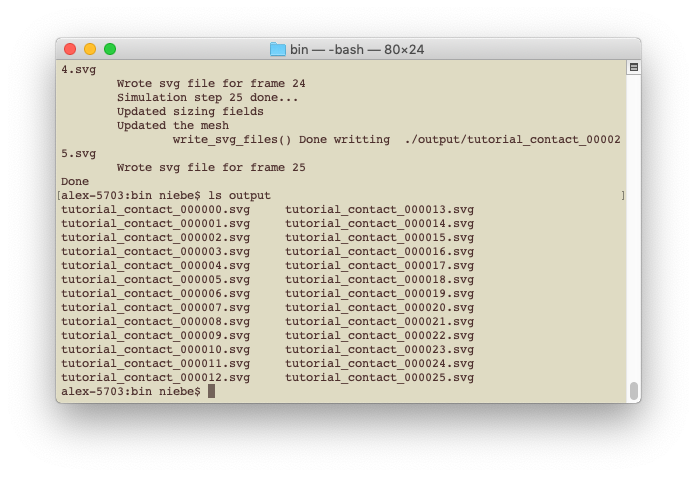
Navigate to the 'GRIT/bin/output' folder to see the results of the demo. Each simulated frame is saved as an SVG file.
 This project has received funding from the European Union's Horizon 2020 research and innovation programme under the Marie Sklodowska-Curie grant agreement No. 764644. This website only contains the RAINBOW consortium's views and the Research Executive Agency and the Commission are not responsible for any use that may be made of the information it contains.